
When you want to build Docker images to run applications on your Raspberry Pi in Docker or Kubernetes, then you have a couple of options how you can do that. Especially since Docker incorporated BuildKit into the toolchain a few things have changed. Here I am going to show a couple of ways, along with their pros and cons, as well as a few tricks on how you can build those Docker images efficiently.
Requirements
Most of the information below only applies, if a relatively recent version of Docker Desktop (for Windows/Mac) or Docker Engine (Linux) is used. Quite a few changes have been made in recent months to incorporate BuildKit into the Docker tooling and to make the BuildKit build experience the default. When using older versions, support may be available as experimental feature, so you may be able to enable those features. However updating to a recent version is probably better, unless you have a particular reason why you want to stay on the older version.
Things to Keep in Mind
The first thing to keep in mind when trying to build a Docker image for the Raspberry Pi is that it probably uses a different architecture from your desktop computer. Your Windows PC will most likely need images for the platform linux/amd64 (OS/architecture), if it runs Linux containers or windows/amd64, if it runs Windows containers. The platform linux/amd64 is also probably what you need for your macOS computer, unless you are running the Apple M1 Tech Preview, in which case the platform would be linux/arm64.
For your Raspberry Pi running a 32-bit Raspberry OS (formerly known as Raspbian), the platform to use would be linux/arm/v7. For the 64-bit version of Raspberry OS, which is still in beta, or something like a 64-bit Ubuntu, running on your Raspberry Pi, you would probably want to use a linux/arm64/v8 image.
Mismatches between your build platform, the one on which you want to create images, and the target platform, the one on which you want to use the images, don’t necessarily prevent you completely from building images for the other platform. However it may be necessary to emulate the target platform during the build, which is usually a lot slower than running code on the target platform natively.
The other thing to watch out for is available resources. For most people, a desktop computer will have a processor that is a lot faster and has more RAM than the Raspberry Pi. It will be slow or even impossible or at least impractical to build a project that needs a lot of resources, for example because it is pulling in a lot of packages, on a Raspberry Pi with only one or two gigabytes of RAM. Building software in many cases needs more resources than actually running it.
Sample Project
In order to demonstrate a few things I have created a sample project that can be found in the GitHub repository mpoettgen/raspberry-build. Let’s start by trying to build and run the sample on the desktop computer.
The folder 0-angular-app/rasbuild contains an Angular app that we want to build using Docker. If you clone the repositiory and navigate into this folder you can use npm run serve --open (or ng serve --open, if you have installed the Angular CLI globally with npm i -g @angular/cli) to run the application. To build the application you can execute npm run build --prod (or ng build --prod), which will create static files in the dist/rasbuild folder.
Now we want to build the app in Docker and make it available as a docker image. We are going to do that in two stages. The first node stage uses a node image to build the Angular app. We chose the buster-slim variant, since the second final stage uses an nginx image to serve the app and the nginx image is based on buster-slim as well. Chances are, that they use the same base image.
The following Dockerfile that can be found in the 0-angular-app folder has a few comments to explain what it is doing. The .dockerignore file in the same folder ensures that only those files that are required for the build are copied to the build context.
# We use the node image to compile our angular app into static content
FROM node:14.16.0-buster-slim AS node
# This node environment is used to build the application, not to run it
ENV NODE_ENV=development
# Make sure we've got a proper version of npm
RUN npm i -g npm@7.6.2
# Set the working directory where we build our project
WORKDIR /src
# Packages change less frequently, so we restore them first
COPY rasbuild/package.json rasbuild/package-lock.json ./
# CI is faster than install and we want to install all packages
RUN npm ci
# Now add the rest of the application files ...
COPY rasbuild/ ./
# ... and build the actual application in prod mode.
RUN npm run build --prod

# The nginx image is the base for our target image.
FROM nginx:1.19.7 AS final
# Copy the static files to the nginx web root
COPY --from=node /src/dist/rasbuild /usr/share/nginx/html
To build a Docker image, simply run docker build --tag angular-app . in the 0-angular-app folder. Now you can run a container based on this image with docker run --rm -d -p 8080:80 angular-app. If you then navigate to localhost:8080 in your browser, you should get the output from the sample app:
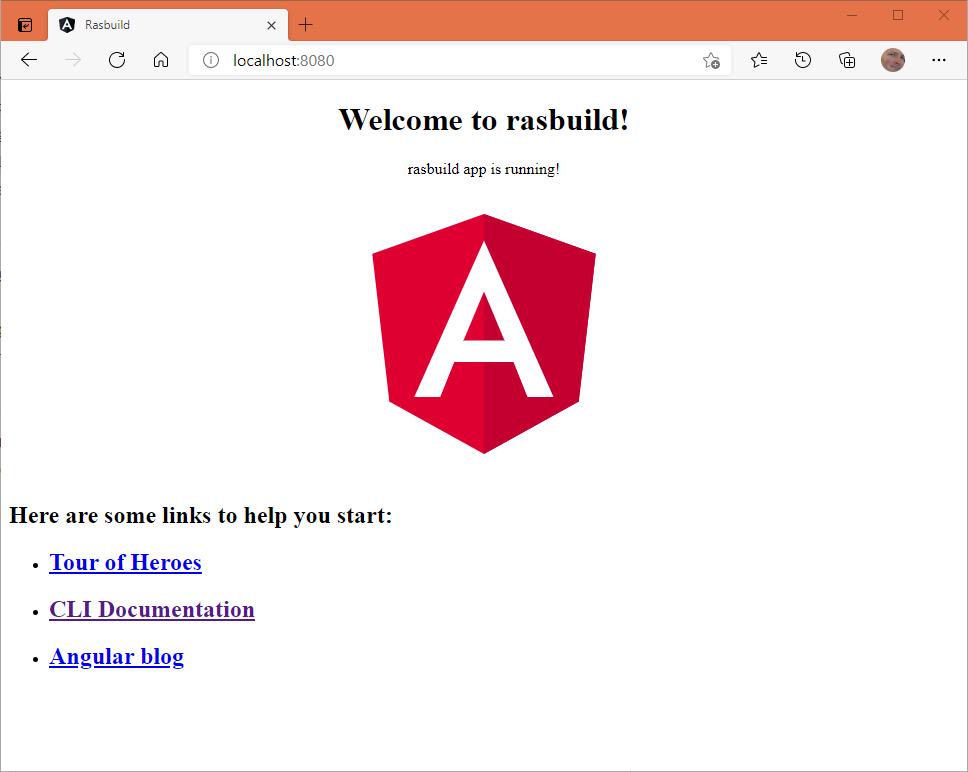
With this we can now try to build the image for the Raspberry Pi.
Docker Engine on the Raspberry Pi
The first option that we want to explore, for building an image for the Raspberry Pi, is to actually build the image on the Raspberry Pi using the Docker Engine. If you have the Docker Engine installed, all you need to do is follow along the steps described in the previous section. Job done.
So why wouldn’t you want to do this? If you’ve actually tried it, then you will have noticed that it is a lot slower than building the image on your desktop computer. While even a small Raspberry Pi is capable of serving a small Angular app to dozens, if not hundreds of users, building an Angular app is a different thing, especially for a one or two GB version.
Another reason why you might want to avoid this is, that you may be running Kubernetes on your Raspberry Pi. Many Kubernetes distributions do not need a Docker Engine anymore. They use containerd which these days is also used to run containers in Docker. Having to operate Docker on your Raspberry Pi then would be kind of a waste of resources. If you have one of the larger Raspberry Pis with four or even eight GB of RAM and you want to use those resources for your build, then we’ll have a look at how you can make use of them later.
Target Platform on the Desktop Computer
Let’s switch back to the desktop computer. This time however, instead of executing a
docker build --tag angular-app .
for a 32-bit Linux on the Raspberry Pi we now want to execute
docker build --platform linux/arm/v7 --tag angular-app .
and for a 64-bit Linux we want to execute
docker build --platform linux/arm64/v8 --tag angular-app .
This way the Docker image is actually created for the respective 32-bit or 64-bit target platform. You will however notice, that the build now takes a lot longer than before. On my PC, which is now a few years old, the 64-bit ARM build takes more than six times as long as the native 64-bit build for Intel/AMD. Even though it looks like the build is doing exactly the same things as before, all the code executed as part of the build is now emulated with the QEMU emulator that is baked into BuildKit. So is there a way to improve the build speed?
Mixed Target and Build Platforms
If we take a closer look at our sample app, then we can see that it actually involves three logical systems:
- The system that builds HTML, JavaScript code and CSS from the original HTML, TypeScript code and SCSS.
- The system that serves the HTML, JavaScript and CSS files to whichever client requests them.
- The web browser running on the client system actually rendering the HTML and CSS and executing the JavaScript code.
What we can see is, that the HTML, JavaScript and CSS that need to be transferred from the first system to the second, may depend on a proper browser that needs to execute it later on the last system, but it does in no way depend on a specific platform to actually build it. This is also true for a whole bunch of other software development platforms that essentially generate platform independent code, like Java or .NET, where they do not need to target a specific platform.
So how can we use that knowledge? In our little sample app, the final stage needs to be running on the target platform, because we want to run the nginx on our Raspberry Pi, but the node stage can be executed on any platform, so it would be better, if that platform would match our build platform. Fortunately we can specify the platform for any stage separately in the Dockerfile like so:
# We use the node image to compile our angular app into static content
FROM --platform=linux/amd64 node:14.16.0-buster-slim AS node
# This node environment is used to build the application, not to run it
ENV NODE_ENV=development
# Make sure we've got a proper version of npm
RUN npm i -g npm@7.6.2
# Set the working directory where we build our project
WORKDIR /src
# Packages change less frequently, so we restore them first
COPY rasbuild/package.json rasbuild/package-lock.json ./
# CI is faster than install and we want to install all packages
RUN npm ci
# Now add the rest of the application files ...
COPY rasbuild/ ./
# ... and build the actual application in prod mode.
RUN npm run build --prod

# The nginx image is the base for our target image.
FROM --platform=linux/arm64/v8 nginx:1.19.7 AS final
# Copy the static files to the nginx web root
COPY --from=node /src/dist/rasbuild /usr/share/nginx/html
This is for a 64-bit Linux target platform. Use --platform=linux/arm/v7 in line 19 for 32-bit.
Now with this change to the Dockerfile the main part of the build will run natively on the platform of our build system, and only the last COPY command needs to be emulated in a non-native context. Accordingly, when we run docker build --tag angular-app . build time is back to where we were when we started, but our image is now built for the target platform.
Reusable Dockerfile
There is one more improvement that we can make to the Dockerfile in order to make it easier to use wherever you want to use it.
# We use the node image to compile our angular app into static content
FROM --platform=$BUILDPLATFORM node:14.16.0-buster-slim AS node
# This node environment is used to build the application, not to run it
ENV NODE_ENV=development
# Make sure we've got a proper version of npm
RUN npm i -g npm@7.6.2
# Set the working directory where we build our project
WORKDIR /src
# Packages change less frequently, so we restore them first
COPY rasbuild/package.json rasbuild/package-lock.json ./
# CI is faster than install and we want to install all packages
RUN npm ci
# Now add the rest of the application files ...
COPY rasbuild/ ./
# ... and build the actual application in prod mode.
RUN npm run build --prod

# The nginx image is the base for our target image.
FROM --platform=$TARGETPLATFORM nginx:1.19.7 AS final
# Copy the static files to the nginx web root
COPY --from=node /src/dist/rasbuild /usr/share/nginx/html
TARGETPLATFORM and BUILDPLATFORM are automatic platform ARGs. They are automatically set when using BuildKit as the backend for Docker builds. With those ARGs in place we can now execute
docker build --tag angular-app .
to build an image for our build machine. Or
docker build --platform linux/arm/v7 --tag angular-app .
to build an image for a 32-bit Linux and
docker build --platform linux/arm64/v8 --tag angular-app .
to build an image for a 64-bit Linux. You will have noticed that these are the exact same commands as above, but now build times are a lot better and we don’t need to modify the Dockerfile between builds.
Building Multi-Platform Images
So now that we are able to build images for multiple platforms using the same Dockerfile, how about building a single Docker image for multiple platforms? This is a convenient way to provide Docker images in a way that you can use them on supported platforms without having to specify the platform explicitly.
There is a new build command, docker buildx, that supports extended build scenarios, one of which is the creation of multi-platform images. The --platform argument of the docker buildx build subcommand accepts an entire list of platforms, separated by commas. However there are a few things that we need to prepare before we can use that command.
When you execute the command
docker buildx build \--platform linux/amd64,linux/arm/v7,linux/arm64/v8 \--tag angular-app .
for the first time, then you will probably be greeted with an error like
error: multiple platforms feature is currently not supported for docker driver. Please switch to a different driver (eg. "docker buildx create --use")
The “docker” driver mentioned in the error message is kind of a version of BuildKit that is baked into the Docker tooling. The docker buildx command lets you manage and use different builders. Each builder uses a particular driver. In addition to the “docker” driver, there is the “docker-container” driver that can use a BuildKit instance running in a Docker container, and there is the “kubernetes” driver that can do the same with BuildKit running in Kubernetes.
The command docker buildx create --name my_builder --use will create a new Docker container named buildx_buildkit_my_builder running BuildKit. If you don’t specify a name, a name will be randomly generated for you.
Now with our new builder in place we can re-issue the command above. This time, the build will start and create a multi-platform image for us. However, as the warning at the top suggests, the image that we’ve built remains in the BuildKit Docker container and we need to find a way to get to it.
warning msg="No output specified for docker-container driver. Build result will only remain in the build cache. To push result image into registry use --push or to load image into docker use --load"
The --load argument would normally download the image from BuildKit into our local Docker instance. Unfortunately this is currently not supported for multi-platform images. But instead we can push the image into a registry of our choice. Provided you have an environment variable MY_DOCKER_REGISTRY set to the name of your Docker registry, then the following command should work:
docker buildx build \--platform linux/amd64,linux/arm/v7,linux/arm64/v8 \--tag $MY_DOCKER_REGISTRY/angular-app \--push .
Now you can pull the image from the registry into every machine that runs a supported platform.
Building Docker Images without Docker
In addition to the support for multiple builders, docker buildx also supports adding multiple nodes to a builder. Each of the nodes can be a system running BuildKit in Docker or Kubernetes. But in the end, you don’t even need Docker at all to do all that. You can set up BuildKit manually, as a temporary process, as a daemon, as a Docker container or as a Kubernetes pod. Then you can use the buildctl tool to control the build from the same or another system.
There are ample possibilities when using BuildKit with buildctl which I’ll maybe explore in a different post.